
Besser blocks retaining wall
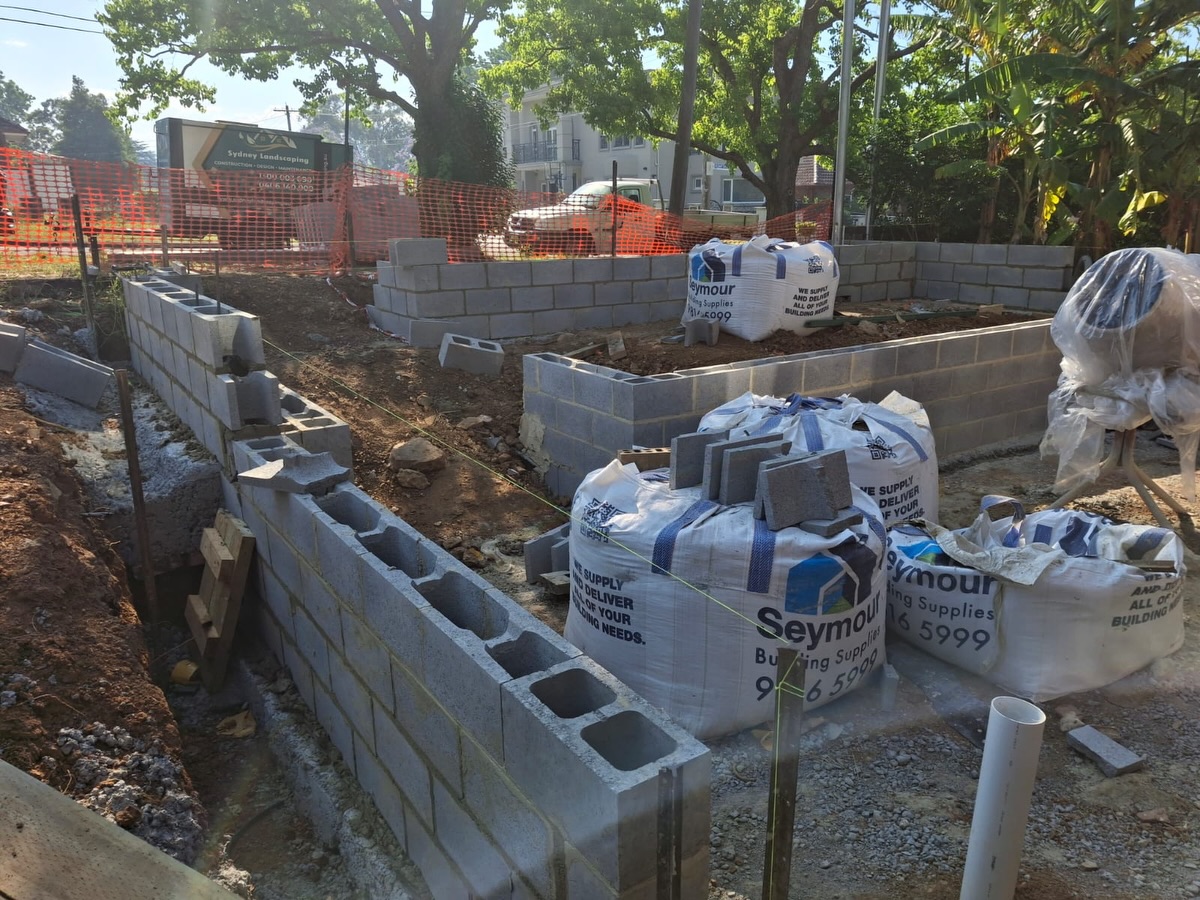
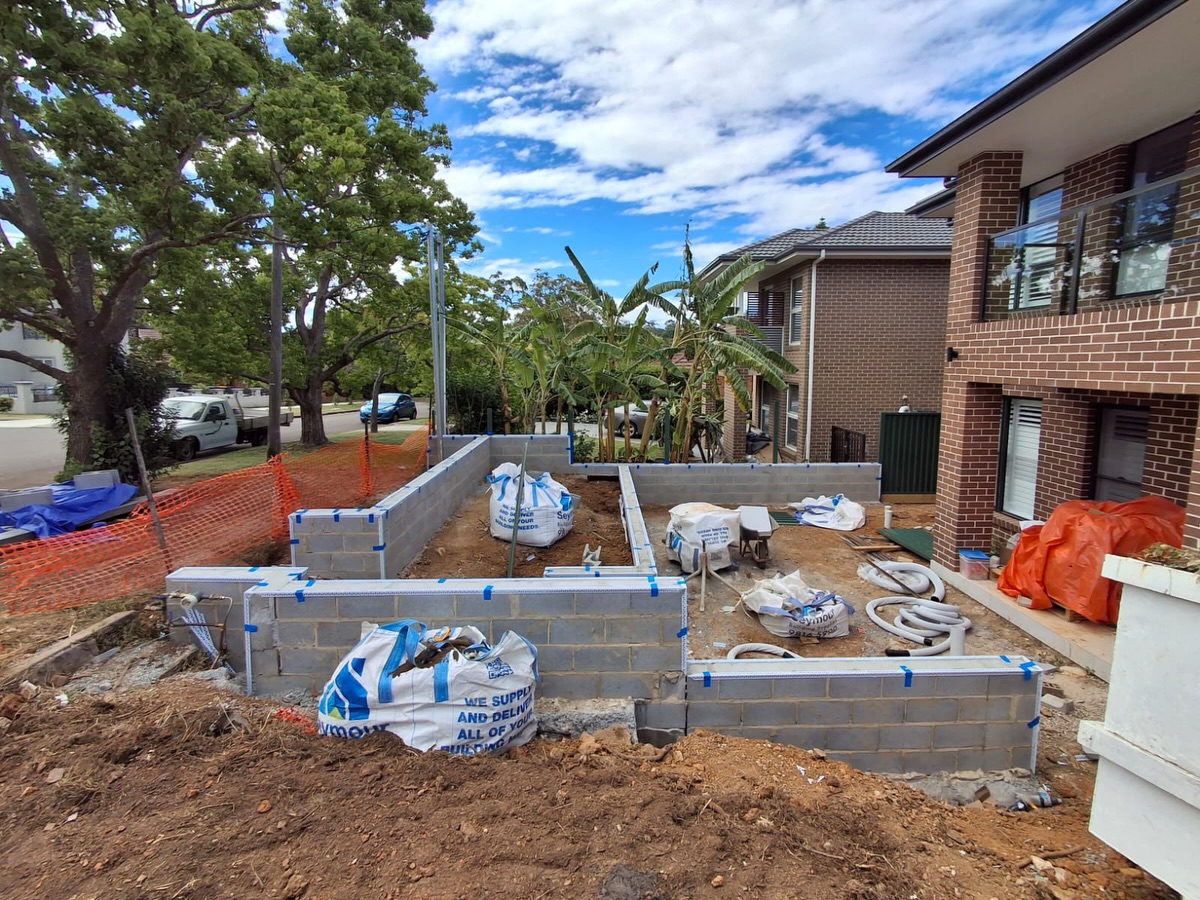
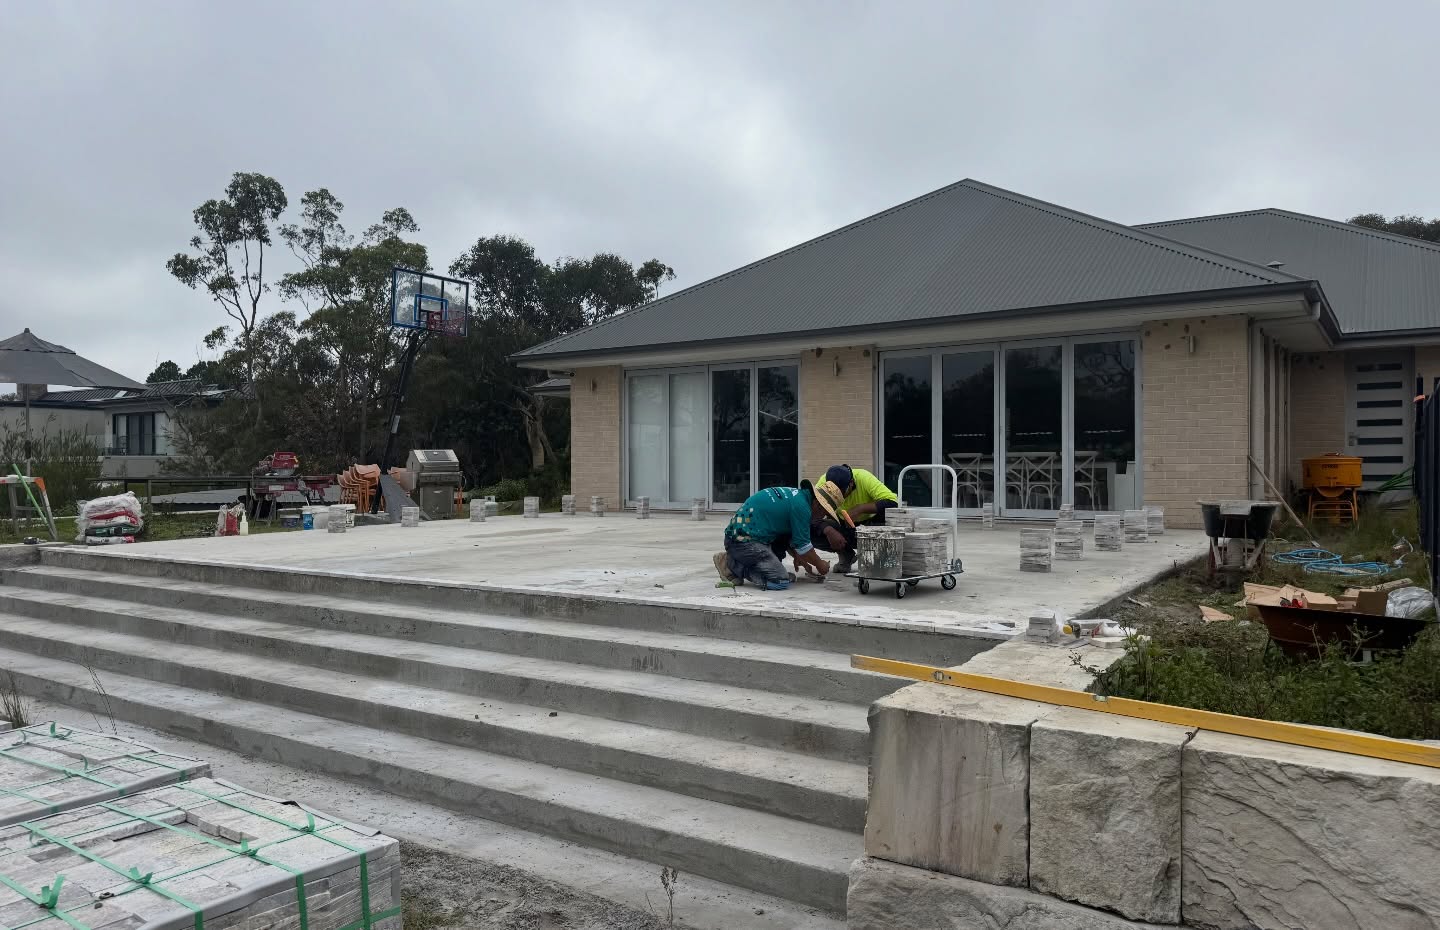

Besser blocks retaining wall (rendered)

1. Besser Block Retaining Wall (Plain / Unrendered)
A Plain Besser Block retaining wall is a robust, engineered masonry structure built from hollow concrete masonry units (CMUs), laid in mortar, and left with the block face exposed. Because the standard grey block has a utilitarian appearance, this finish is typically chosen for structural applications where the wall will not be highly visible, or for industrial and rural settings where function takes priority over form.
What Is a Besser Block?
A Besser Block is a specific brand of rectangular concrete masonry unit that measures 390mm long × 190mm high × 190mm wide (the standard 200mm series). The hollow cores within each block are designed to accommodate vertical steel reinforcing bars (rebar) and grout (liquid concrete), which transforms the wall into a reinforced concrete structure capable of retaining significant soil loads. Blocks are also available in 100mm, 150mm, and 300mm series widths for different applications.
Key Characteristics
Aesthetic: Utilitarian, industrial, structural. Standard grey blocks offer a raw, functional appearance. Coloured concrete blocks are also available if a more finished look is desired without rendering.
Texture: Rough, dense, and uniform. The block face is typically smooth or lightly textured from the manufacturing process.
Structural Capability: Extremely high. When core-filled and reinforced, Besser block walls can retain significant heights (over 2 metres) and are suitable for engineered and load-bearing applications .
Sizes and Series
| Series | Actual Width | Typical Application |
|---|---|---|
| 100mm series | 90mm | Non-structural, garden edges, low walls (under 600mm) |
| 150mm series | 140mm | Light-duty retaining, general landscaping |
| 200mm series | 190mm | Standard for most retaining walls, residential to commercial |
| 300mm series | 290mm | Heavy-duty engineered walls, large-scale retention |
There are 12.5 standard Besser blocks per square metre of wall area.
Structural Requirements (Critical)
Unlike segmental retaining wall blocks that rely on interlocking and setback, a Besser block retaining wall is built like a conventional brick wall – laid in mortar on a concrete footing – but with critical reinforcement:
Concrete Footing: A reinforced concrete foundation pad is required. The footing must be properly formed, levelled, and cured before block laying begins.
Steel Reinforcement: Vertical reinforcing bars (typically 12mm diameter) are placed inside the hollow block cores, typically at 400mm centres for retaining walls. Horizontal reinforcement (bond beams) is also required at regular intervals.
Core-Filling (Grouting): The hollow cores containing rebar must be filled with liquid concrete (grout) to bond the steel to the blocks, creating a composite reinforced concrete wall.
Drainage: Weep holes or ag drainage pipes behind the wall are essential to prevent hydrostatic pressure build-up.
Advantages and Disadvantages (Plain)
| Advantages | Disadvantages |
|---|---|
| ✔ Extremely strong and durable – engineered for height | ✘ Standard grey blocks have a basic, industrial appearance |
| ✔ Fireproof, rot-proof, termite-proof | ✘ Requires structural engineering for walls over 1m |
| ✔ Long lifespan (50+ years) | ✘ Labour-intensive – requires skilled bricklaying |
| ✔ Space-efficient – vertical walls don’t take up yard space | ✘ Higher material cost (concrete footing, rebar, grout) |
| ✔ Can be painted or rendered later if desired | ✘ Heavy – difficult for DIY beyond low heights |
Best Applications (Plain)
Walls that will be buried or hidden (e.g., behind cladding, against an embankment)
Rural retaining walls, farm structures, and industrial sites
Structural basement walls and car parks
Fence lines where the wall will be painted rather than rendered
Core-filled retaining walls for cyclonic regions
Capping and Finishing
Capping units are available to sit atop finished block walls, providing a clean edge and preventing water ingress into the hollow cores. Caps are typically adhered with mortar or construction adhesive.
2. Besser Block Retaining Wall (Rendered)
A Rendered Besser Block retaining wall transforms the utilitarian grey block into a smooth, modern, and visually appealing finish. The render coat covers the blockwork entirely, hiding the mortar joints and block pattern to create a seamless monolithic surface. This is the most popular choice for residential landscaping where aesthetics matter as much as structural performance.
What Is a Rendered Besser Block Wall?
It is a standard reinforced Besser block retaining wall that has been coated with one or more layers of cement-based render (plaster). The render is typically applied in two coats: a scratch coat to bond to the blocks, and a top coat to create the finished surface. The wall can then be left as natural grey render, painted any colour, or textured for additional visual interest.
Why Render a Besser Block Wall?
Standard grey Besser blocks are described as having a “basic aesthetic appearance” and are “often used only in applications where the wall will not be visible” . Rendering solves this by:
Creating a modern, clean, seamless look
Allowing any colour through painting or tinted render
Hiding the industrial block pattern and mortar joints
Adding an extra layer of weather protection
The Rendering Process – Step by Step
Based on extensive DIY and professional experience, here is the proper method for rendering a Besser block retaining wall :
Step 1: Preparation
Ensure the block wall has fully cured (minimum 7–14 days after grouting)
Clean the surface of dust, dirt, and loose mortar
Wet the wall thoroughly – Besser blocks are very hard and will aggressively suck moisture from the render, causing cracking. The wall should be damp (but not dripping) before applying render
Step 2: Mix Selection
Professional renderers recommend:
Sand/Cement/Lime mix: 3 parts sharp (plastering) sand: 1 part cement: 0.5 parts hydrated lime. The lime improves workability, reduces cracking, and creates a superior finish
Avoid pre-mixed bag products unless necessary – they are often cement-rich and more prone to cracking
For two-coat work, a waterproofing additive can be included in the second coat
Step 3: Apply Scratch Coat (First Coat)
Apply first coat approximately 8–12mm thick
“Scratch” the surface with a comb or rake to create a key for the second coat
Allow to set (but not fully dry) before applying top coat
Step 4: Apply Top Coat (Second Coat)
Apply a 5–8mm thick finish coat
Screed using straight edges or battens for flatness
Allow to stiffen before final finishing
Step 5: Finishing
Wood float: Use circular (figure-8) motions to bring water to the surface and close the render
Sponge float: After the wood float, use a damp sponge to create a consistent texture; not too much water or the surface becomes “bald”
Texture options: Smooth troweled, sponged, bagged (rough), or patterned
Step 6: Curing – CRITICAL
Keep the render damp for 24–48 hours after application
In hot weather, use a fine mist spray every 2–3 hours
Failure to cure properly is the leading cause of cracking
Painting Rendered Walls
Once the render has fully cured (typically 28 days), it can be painted with:
Breathable exterior masonry paint
Elastomeric paint (flexible, bridges hairline cracks)
Any high-quality exterior acrylic paint
Advantages and Disadvantages (Rendered)
| Advantages | Disadvantages |
|---|---|
| ✔ Modern, seamless, aesthetically pleasing finish | ✘ Higher upfront cost (render labour and retaining wall materials) |
| ✔ Can be any colour – matches house or landscape | ✘ Render can crack if wall moves or settles |
| ✔ Hides block pattern, mortar joints, and imperfections | ✘ Cracked render can trap moisture against blocks |
| ✔ Adds an extra weatherproofing layer | ✘ Requires skilled renderer for quality finish |
| ✔ Increases property value and curb appeal | ✘ May require repainting every 5–10 years |
| ✔ Can be textured for additional visual interest | ✘ Repairs are difficult to match perfectly |
Common Problems and Solutions
| Problem | Cause | Solution |
|---|---|---|
| Cracking | Wall too dry during application; insufficient curing | Keep wall damp for 48 hours; use lime in mix |
| Blistering / delamination | Trapped moisture; poor bond | Ensure weep holes are clear; dampen wall before rendering |
| Render sliding off | Wall too wet | Wait 10 minutes for surface to dry slightly |
| Drummy (hollow) render | Base coat not set enough before top coat | Allow scratch coat to firm up before applying top coat |
| Efflorescence (white salt stains) | Salts migrating from blocks | Use low-salt render mix; seal properly after curing |
Cost Considerations (Approximate per m²)
| Component | Plain Besser | Rendered Besser |
|---|---|---|
| Footing & excavation | 80–80–150 | 80–80–150 |
| Besser blocks laid (labour & materials) | 150–150–250 | 150–150–250 |
| Rebar + grout (core-filling) | 40–40–80 | 40–40–80 |
| Render (2–3 coats, labour & materials) | N/A | 60–60–120 |
| Painting / sealing | 0–0–15 | 15–15–30 |
| Total approx. | 270–270–495 | 345–345–630 |
Note: Prices vary significantly by region, wall height, reinforcement requirements, and labour rates.