
Timber Garden Edging Portfolios
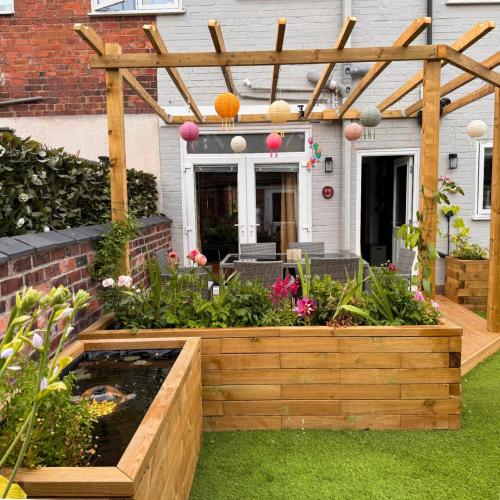
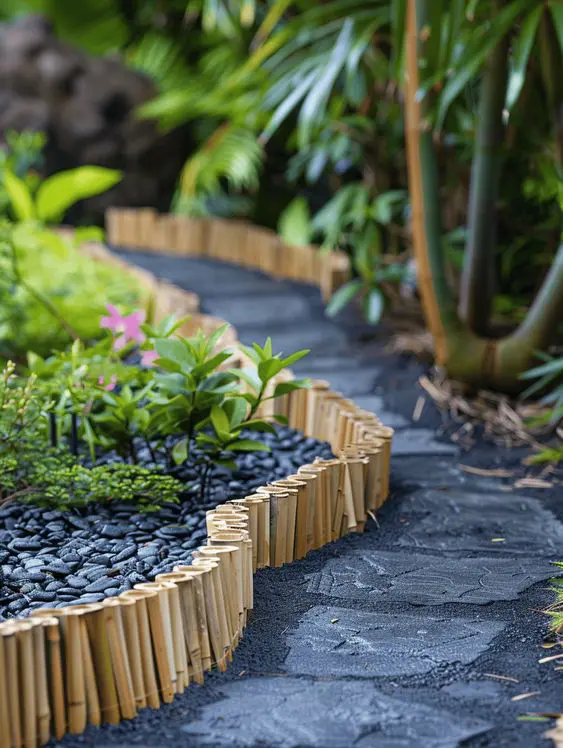
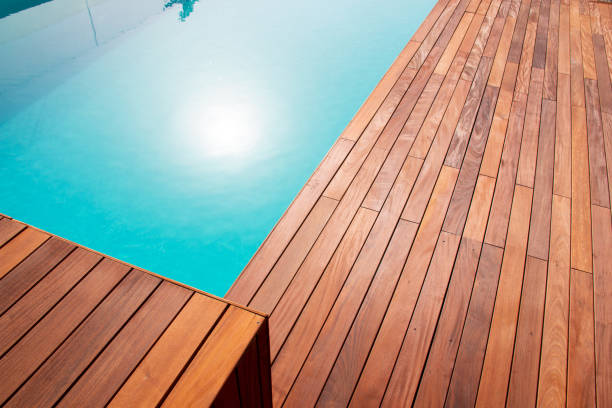
Timber garden edging is a natural, affordable way to separate lawn, garden beds and paths. Expect to pay roughly $10 to $40 per metre for materials (more for hardwood or sleepers), and plan on a weekend for a standard DIY install. Treated pine suits most budgets, while hardwood lasts longest.
Why Choose Timber Garden Edging?
Timber garden edging gives your garden clean lines and a warm, natural look. It holds mulch and soil in place, keeps grass from creeping into garden beds, and makes mowing easier. Unlike steel or concrete, timber blends with almost any garden style, from cottage to modern native.
It’s also flexible. You can run it straight along a path or bend thinner timber into gentle curves. For many homeowners, it’s the best balance of cost, appearance and ease of installation.
Key benefits:
- Affordable compared with stone, brick or concrete
- Easy to cut, shape and install
- Natural appearance that suits most garden styles
- Keeps mulch, soil and gravel contained
- Can be raised to create small garden beds
Types of Timber Garden Edging
Different timbers suit different jobs. Here’s how the main options compare.
| Type | Best For | Lifespan (approx.) | Cost Level |
|---|---|---|---|
| Treated pine (H4/H5) | General beds, tight budgets | 10 to 15 years | Low |
| Hardwood (e.g. spotted gum, ironbark) | Long-lasting, high-use areas | 20+ years | Medium to high |
| Railway-style sleepers | Raised beds, retaining edges | 15 to 25 years | Medium to high |
| Timber pegs and logs | Rustic, informal looks | 5 to 10 years | Low |
| Flexible timber strips | Curved borders | 5 to 10 years | Low to medium |
Treated Pine
Treated pine is the most popular choice. It’s lightweight, easy to work with and resistant to rot and termites when rated correctly. For ground contact, look for an H4 rating or higher. Check the label, because lower ratings won’t last in soil.
Hardwood
Hardwood is dense, strong and naturally durable. It costs more upfront, but it often pays off over time because you won’t replace it as soon. It’s a smart pick for edges that take a lot of wear, such as along driveways or busy paths.
Sleepers and Logs
Sleepers are thick, chunky and great for defined raised beds. Logs and pegs give a rustic, relaxed look, though they generally don’t last as long. If you want a bold, solid edge, sleepers are hard to beat.
How Much Does Timber Garden Edging Cost?
Costs vary by timber type, height, site access and whether you hire a professional. The figures below are rough estimates in Australian dollars, so always get current quotes before you budget.
| Item | Approx. Cost per Metre |
|---|---|
| Treated pine edging (materials only) | $8 to $20 |
| Hardwood edging (materials only) | $15 to $40 |
| Sleeper edging (materials only) | $25 to $60 |
| Professional installation (labour) | $20 to $50 |
What affects the price?
- Timber type and thickness
- Length and shape of the edge (curves take more time)
- Ground conditions, such as clay, rock or slopes
- Removal of old edging or weeds
- Delivery and waste removal
To save money, measure carefully, buy a little extra for cuts, and compare at least three quotes if you’re hiring someone.
Tools and Materials You’ll Need
Before you start, gather everything so you’re not running to the hardware store mid-job.
- Timber edging boards or sleepers
- Timber or galvanised steel stakes
- Spade or edging tool
- Rubber mallet or hammer
- Spirit level and string line
- Saw (hand or electric)
- Screws or galvanised nails
- Gravel or sand for the base
- Gloves, eye protection and a tape measure
Step-by-Step Installation Guide
Installing timber garden edging is a manageable DIY job. Take your time on the layout, since that’s where most mistakes happen.
Step 1: Plan and Mark the Line
Use a string line for straight edges or a garden hose for curves. Step back and check the shape from a few angles. It’s much easier to adjust now than after the timber’s in.
Step 2: Dig the Trench
Dig a narrow trench along your marked line. Aim for about one-third to one-half of the board’s height below ground. This stops the edging from tipping and keeps it stable. Remove grass, roots and rocks as you go.
Step 3: Prepare the Base
Add a thin layer of compacted gravel or sand to the bottom. This improves drainage and helps reduce rot. Level it with your spirit level.
Step 4: Position and Cut the Timber
Lay the boards in the trench and cut them to length. For corners, cut clean mitres or butt the ends together. Pre-drill any screw holes to prevent splitting.
Step 5: Fix the Stakes
Drive stakes into the ground behind the boards, spaced roughly every 0.8 to 1 metre. Fix the boards to the stakes using screws or galvanised nails. Keep the top edge level and consistent.
Step 6: Backfill and Finish
Backfill with soil and press it down firmly. Then top up your garden beds with mulch. Finally, wipe down the timber and consider applying a suitable outdoor sealant on the cut ends.
Tips to Make Timber Edging Last Longer
A little care goes a long way. Follow these tips to get the most from your Sydney garden edging.
- Choose the right rating. Use H4 or higher for ground contact.
- Seal cut ends. Fresh cuts expose untreated timber to moisture.
- Improve drainage. A gravel base keeps boards from sitting in water.
- Keep mulch off the top. Too much mulch piled against timber can speed up decay.
- Inspect yearly. Replace loose stakes or damaged sections early.
Timber vs Other Edging Materials
Timber isn’t the only choice, so it helps to know how it stacks up.
| Material | Look | Durability | Cost |
|---|---|---|---|
| Timber | Natural, warm | Good (varies by type) | Low to medium |
| Steel | Sleek, modern | Very high | Medium to high |
| Concrete | Solid, formal | Very high | Medium to high |
| Brick or stone | Classic | Very high | High |
| Plastic | Basic | Moderate | Low |
If you want a natural look at a fair price, timber is hard to beat. If you want a near-permanent edge with minimal upkeep, steel or concrete may suit you better.
When to Call a Professional
DIY works well for straight, low edges. However, you may want expert help for long runs, steep slopes, retaining edges or anything near boundaries and drainage lines. A professional landscaper can also advise on council rules and make sure the edging is structurally sound. At Sydney Landscaping Pty Ltd, we can design, supply and install timber garden edging to suit your yard and budget.
Frequently Asked Questions for timber garden edging
What’s the best timber for garden edging?
Treated pine (H4 or higher) is the best all-rounder for cost and ease of use. Hardwood is better if you want the longest lifespan and don’t mind paying more.
How long does timber garden edging last?
It depends on the timber and conditions. Treated pine often lasts 10 to 15 years, while quality hardwood can last 20 years or more.
How deep should I bury timber edging?
Bury roughly one-third to one-half of the board’s height. This keeps it stable and stops it from leaning over time.