Dreaming of transforming a sloped Sydney yard into a stunning, usable space? A Durable retaining wall design in Sydney is more than just a functional structure; it’s a foundational element of your landscape. But a failed wall—one that bulges, cracks, or collapses—is a costly and dangerous headache.
At Sydney Landscaping Pty Ltd, we’ve built and repaired countless retaining walls across the city. Through this experience, we’ve identified the five non-negotiable principles that separate a temporary fix from a permanent solution. Whether you’re planning a DIY project or just want to understand what goes into quality work, this guide is for you.
1: The Unshakeable Foundation
The single most critical part of any wall is the part you don’t see. A proper retaining wall foundation is what resists the immense pressure from the soil behind it, preventing it from tipping forward or settling unevenly.
The Sydney-Specific Tip: Our local soil, from Sydney’s sandy coastal strips to its heavy clay basins, behaves differently when wet. A foundation must be dug below the frost line (which is minimal here) and, more importantly, into stable, undisturbed subsoil. For most walls, this means excavating a trench, compacting a layer of road base, and creating a perfectly level base course of blocks or concrete.
Cutting corners here is the first and fastest way to a failed wall. Any guide on how to build a retaining wall will stress this point above all others.
2: Master the Science of Water
Water is the arch-enemy of every retaining wall. When soil becomes saturated, its weight can increase dramatically, creating hydrostatic pressure that no wall can withstand forever. This is why expert retaining wall drainage is not an optional extra—it’s a mandatory system.
A long-lasting retaining wall design in Sydney must include three key drainage components:
-
Gravel Backfill: The space behind the wall blocks should never be filled with dirt. Instead, it must be packed with free-draining gravel or crushed rock.
-
A Perforated Drain Pipe: This pipe, installed at the base of the gravel layer, acts as a channel to collect water and whisk it away from the wall.
- Weeper Holes: Small gaps between the blocks at the base of the wall allow any trapped water to escape freely.
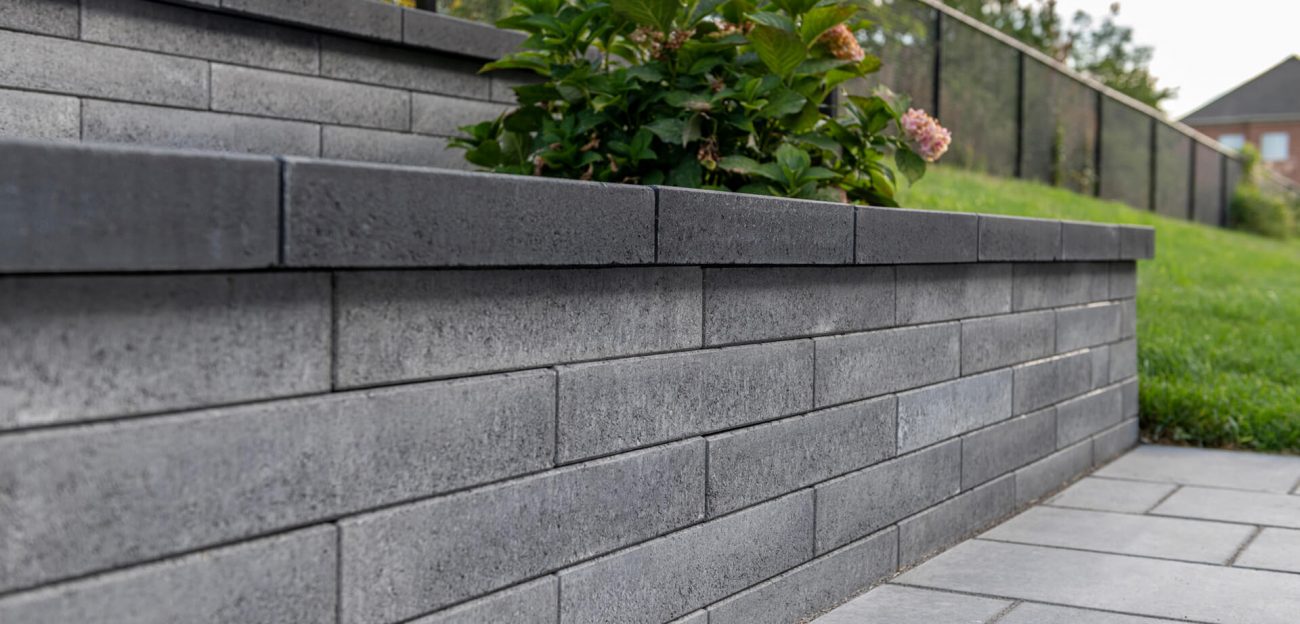
3: Choose the Right Material for the Job
Not all retaining wall materials are created equal. The choice depends on the wall’s height, the load it’s holding, and the aesthetic you desire. A key retaining wall construction tip is to match the material to the task.
-
Timber Sleepers: A classic look, but susceptible to rot over time. Best for lower walls (under 1 metre).
-
Concrete Blocks (Besser Blocks) & Segmental Retaining Wall Units: The go-to for strength and versatility. These interlocking systems are engineered for stability and are ideal for most residential projects.
-
Poured Concrete: The ultimate in strength for tall or structural walls. It can be rendered or faced with stone for a premium finish.
Our team at Sydney Landscaping can help you navigate this choice to find the perfect balance of function, form, and budget for your long-lasting retaining wall design in Sydney.
4: Engineer for Height with Geogrid
For walls over a metre in height, the forces at play become significant. This is where a hidden hero comes in: geogrid. Geogrid is a synthetic mesh that is layered between the wall blocks and extends back into the soil and gravel, effectively tying the entire mass together.
Think of it as the roots of a tree, anchoring it against the wind. Using geogrid is one of the most critical retaining wall construction tips for taller walls, as it mechanically reinforces the soil, creating a “reinforced earth” mass that is incredibly stable.
5: Professional Installation & Local Knowledge
This final point brings all the others together. Understanding how to build a retaining wall from a manual is one thing; understanding the nuances of its real-world application is another. Sydney’s unique weather patterns, soil types, and council regulations require local expertise.
A professional team brings:
-
Knowledge of Local Regulations: Many councils require engineering certification for walls over a certain height.
-
Proper Compaction Techniques: Ensuring every layer of base and backfill is properly compacted is a skill developed through experience.
-
Problem-Solving for Site Challenges: From rock ledges to tricky drainage paths, pros have seen it before.
Invest in a Wall That Stands the Test of Time
A retaining wall is a significant investment in your property. By insisting on these five non-negotiable principles—a solid foundation, impeccable drainage, the right materials, proper engineering for height, and professional installation—you aren’t just building a wall. You’re building peace of mind.
Ready to build a retaining wall that will last a lifetime on your Sydney property? The team at Sydney Landscaping Pty Ltd combines expert craftsmanship with a deep understanding of local conditions. Contact us today for a consultation, and let’s build something solid together.
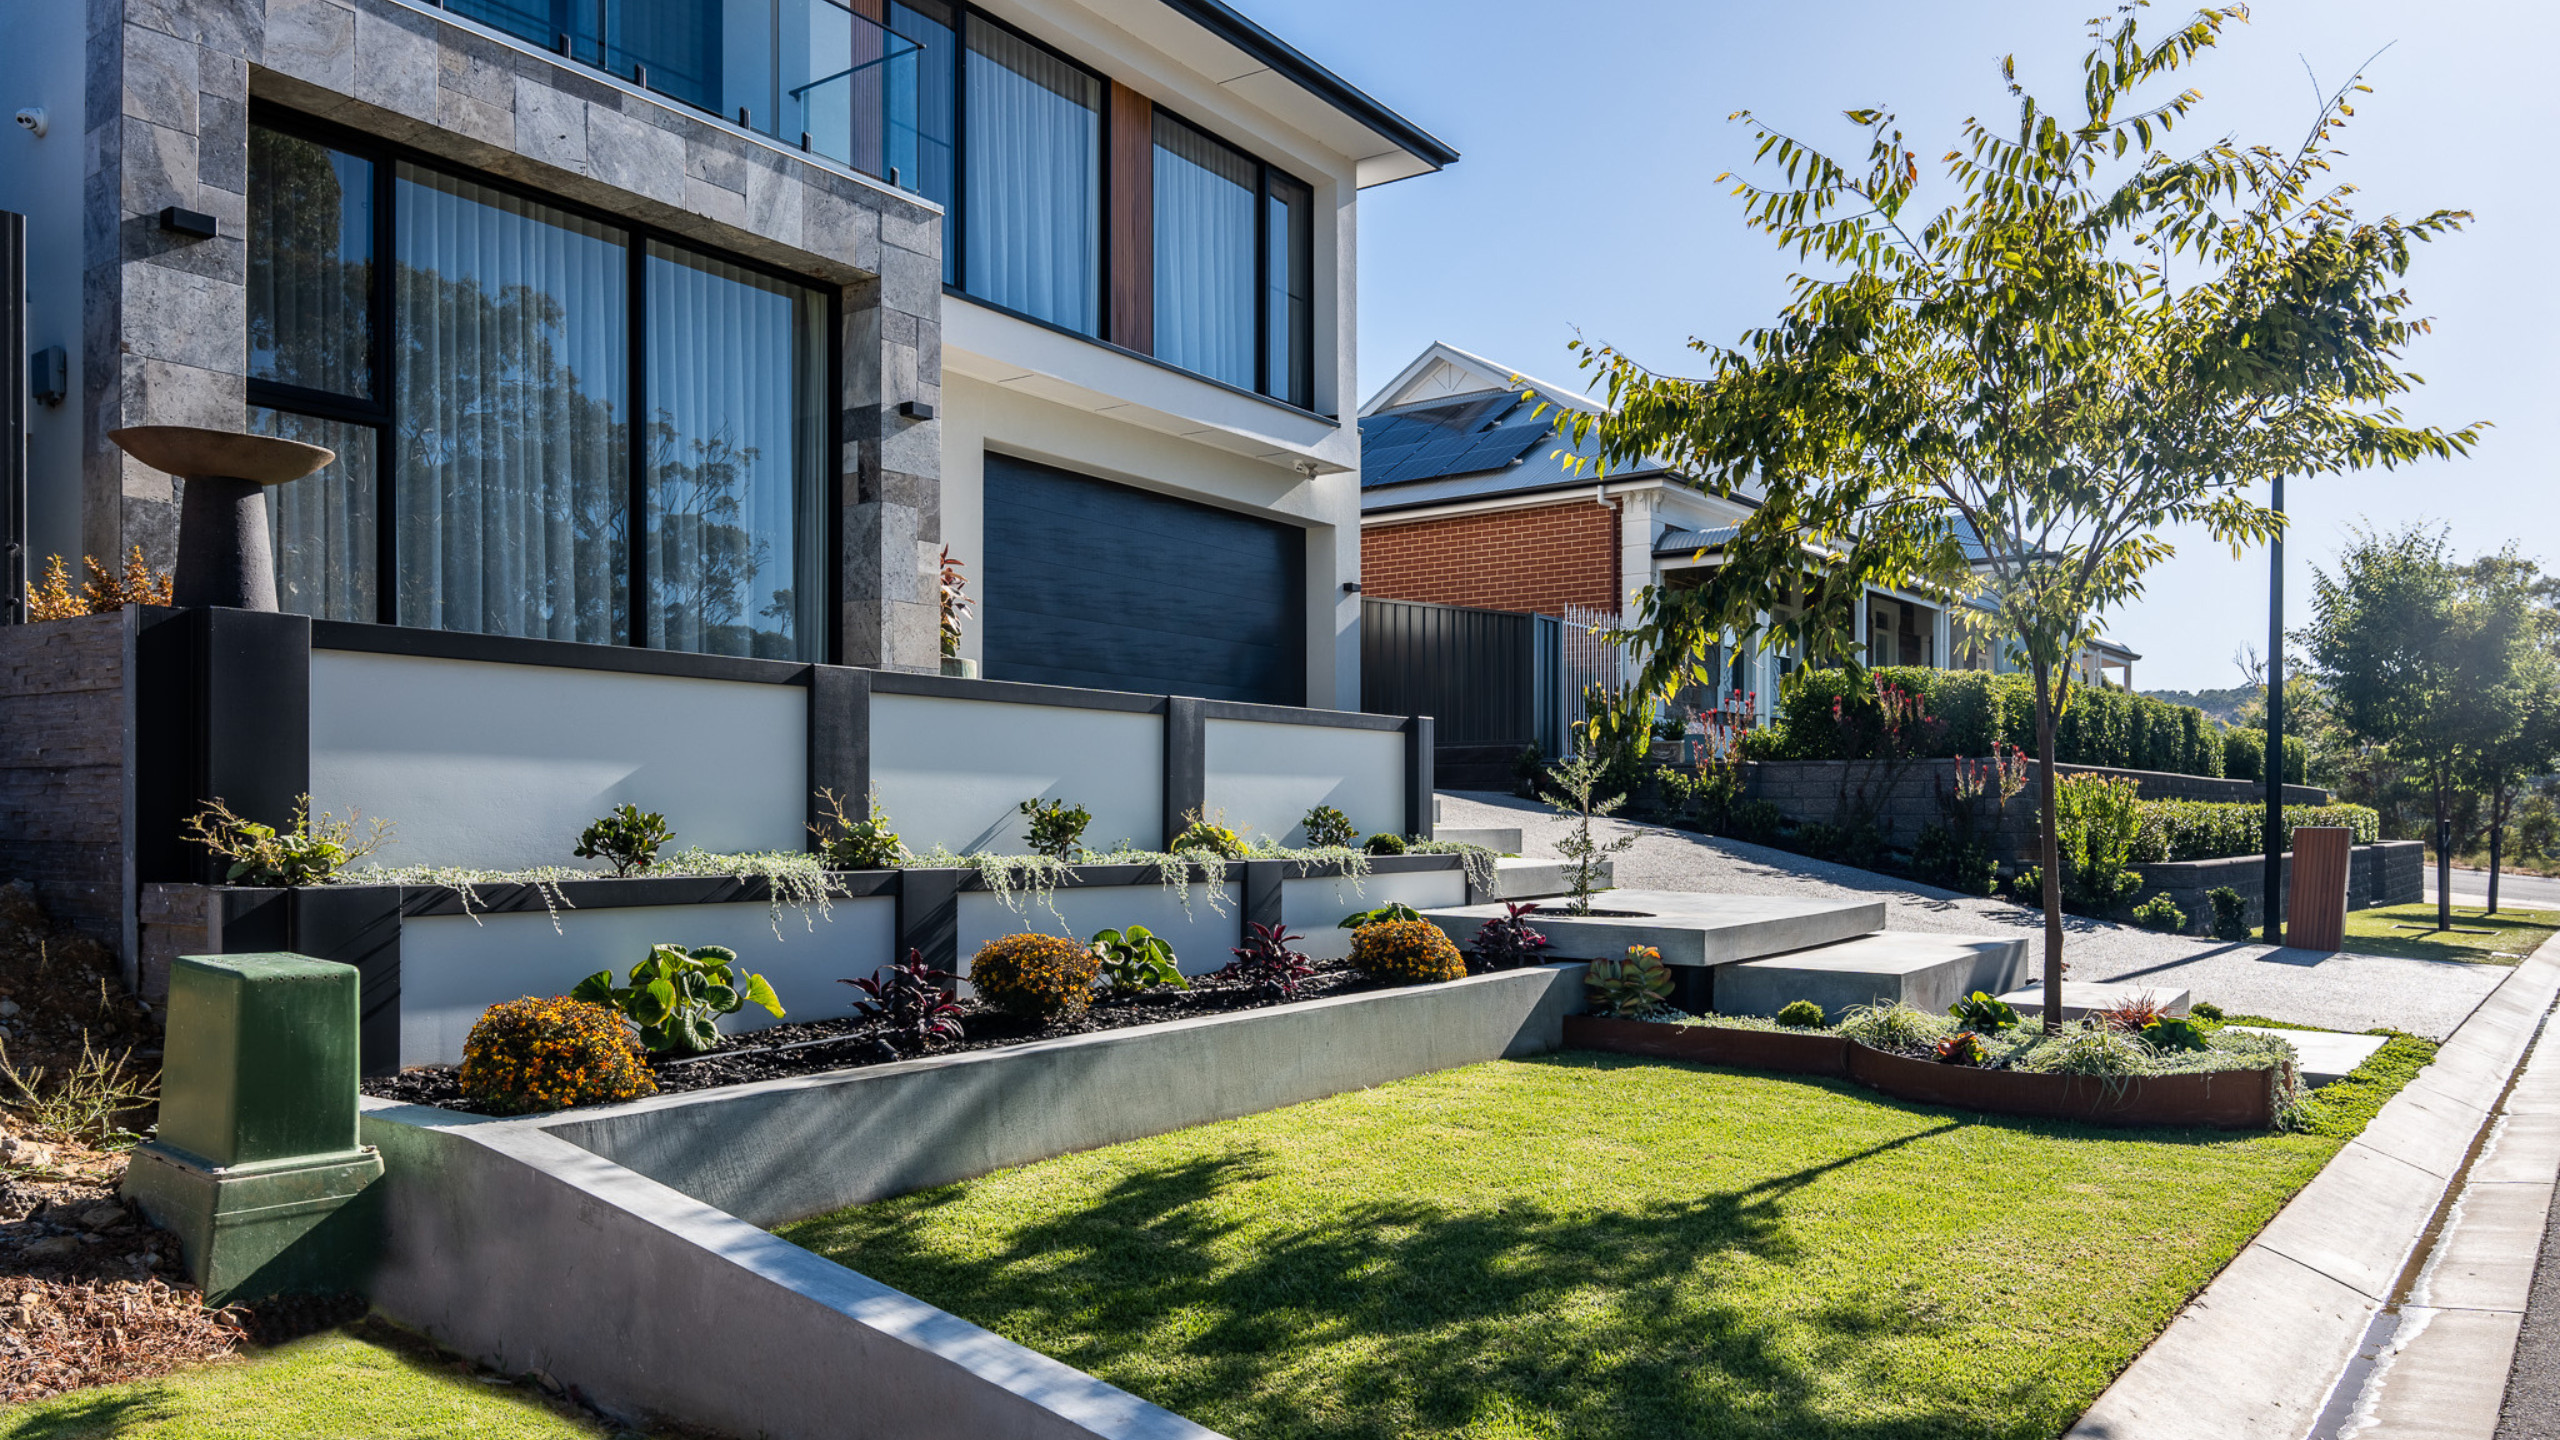
Beyond the Five Principles: Advanced Considerations for Sydney Retaining Walls
The five non-negotiable principles we’ve covered – foundation, drainage, materials, geogrid, and professional installation – form the backbone of any lasting wall. But a truly durable retaining wall design in Sydney goes further. It anticipates the unique challenges of your specific site, integrates with your broader landscape, and adds value beyond mere soil retention. Here’s what the advanced homeowner should know.
Understanding Sydney’s Soil Personalities
We mentioned sandy soils and heavy clays, but let’s get specific. Your wall’s design must respond to what’s actually in your ground – not just a generic “Sydney soil” assumption.
| Soil Type | Common Sydney Locations | Behaviour Challenge | Design Response |
|---|---|---|---|
| Highly reactive clay | Hills District, Parramatta, Ryde | Expands when wet, shrinks when dry – creates cyclical pressure on walls | Deep, oversized aggregate backfill (50mm+ clean rock); flexible wall systems (segmental blocks, not rigid poured concrete); additional weepers every 1.5m instead of 2m |
| Sandy / sandy loam | Northern Beaches, Eastern Suburbs, Cronulla | Drains quickly but provides less lateral resistance; prone to erosion behind the wall | Wider gravel chimney (600mm minimum); geotextile fabric to prevent fines migration; compact in thinner lifts (150mm instead of 300mm) |
| Shale / claystone mix | North Shore, Inner West (digging reveals rock) | Irregular surfaces; water pockets form at rock-clay interfaces | Engineered foundation that keys into sound rock; sub-soil drainage at multiple levels; must NOT use vibrating plate compactors directly on shale (it pulverises) |
Real-world example – Turramurra: A 1.8m wall on a clay-shale slope failed twice before the homeowner called us. Previous builders had used standard gravel backfill and compacted aggressively, crushing the shale into a slippery paste. Our solution: remove all disturbed material, install a geocomposite drainage layer, backfill with clean 75mm aggregate, and step the wall foundation into sound rock every 3 metres. Six years later – no movement, no cracks.
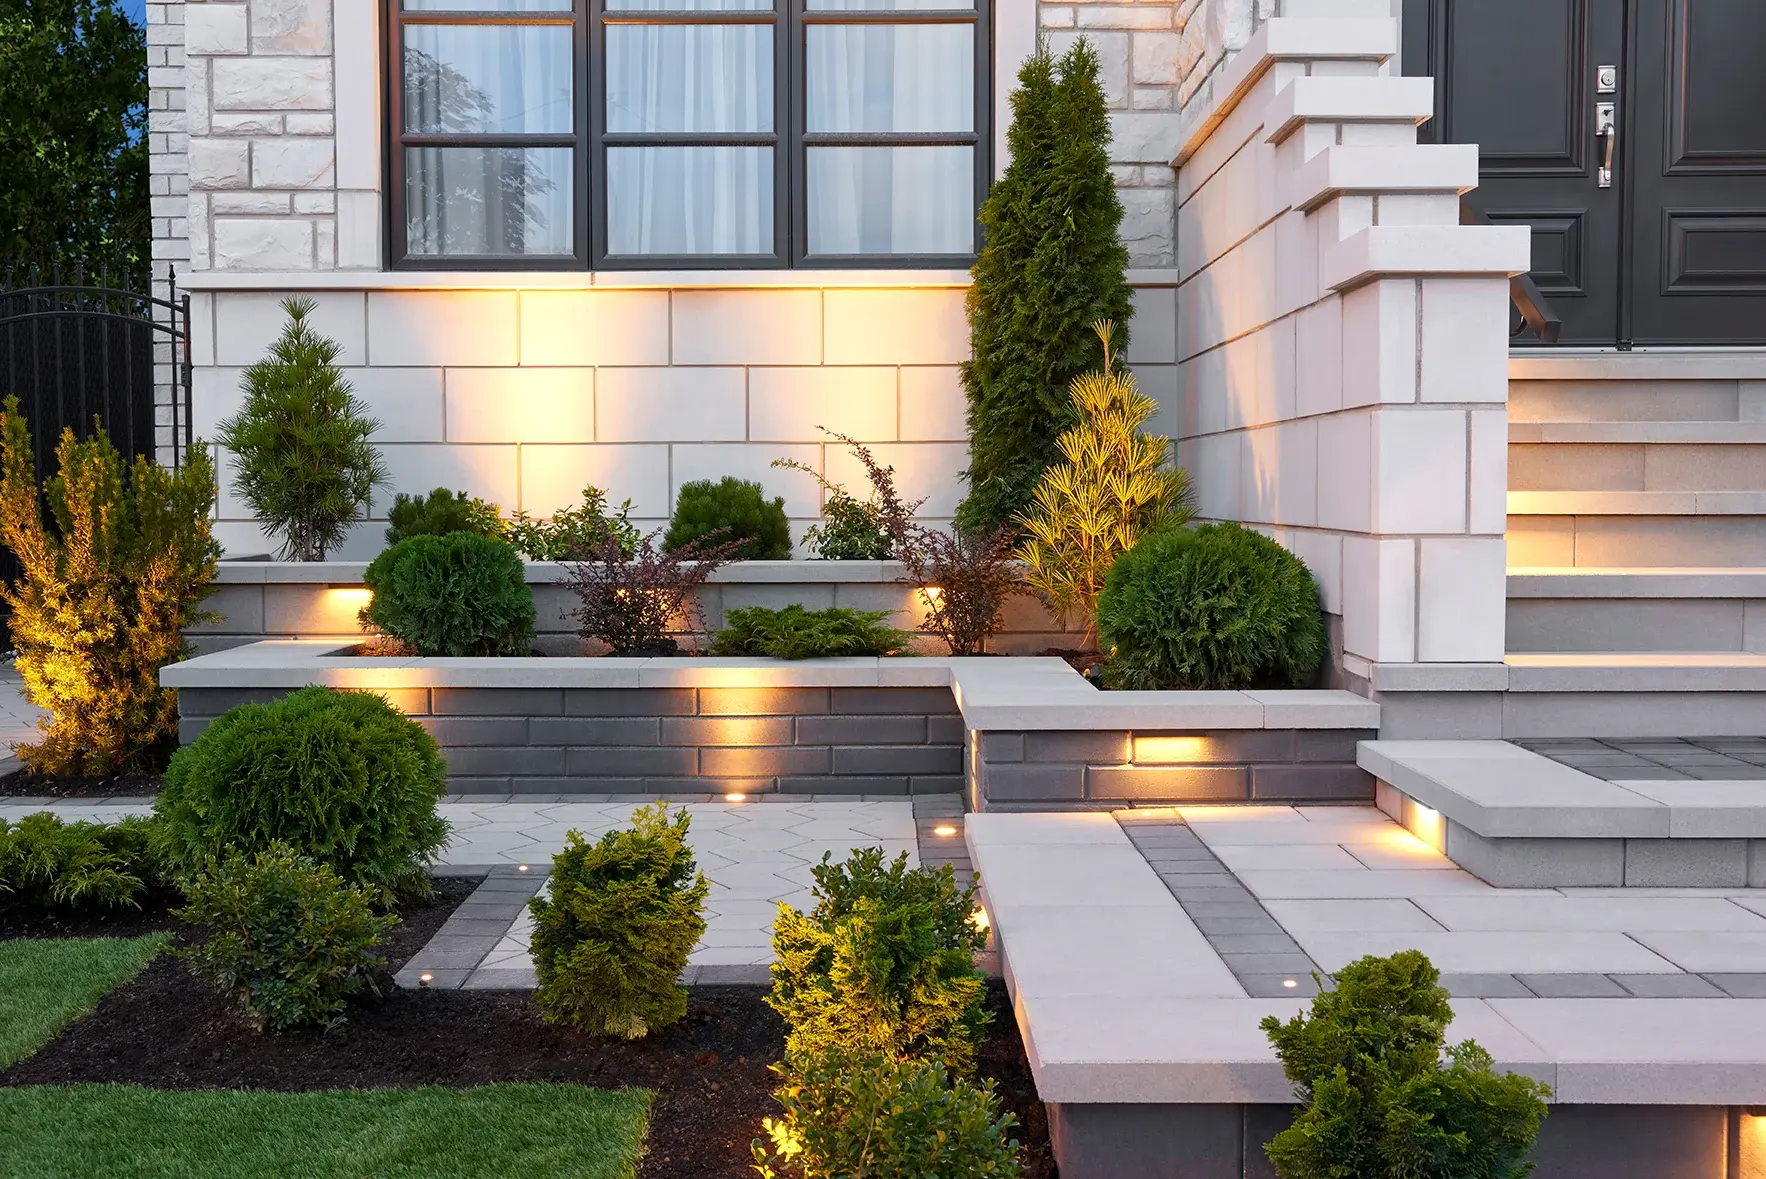
The Aesthetics of Durability: Finishes That Last
A wall that stands for 50 years is worthless if it looks terrible after five. The right finish matters as much as the right structure.
Timber Sleeper Walls – Only for Specific Scenarios
-
Lifespan expectation: 7–15 years depending on treatment and ground moisture
-
What to specify: H4 or H5 treated pine (not H3). For premium projects: reclaimed hardwood or spotted gum – naturally rot-resistant but expensive
-
The hidden killer: Ground contact at the base. Even H4 timber rots prematurely if buried in wet clay. Solution? Cast a concrete footing that raises sleepers 25mm off the soil.
-
Our honest advice: Timber sleepers are budget-friendly for low walls (under 800mm) but rarely “lifetime” durable. Accept the shorter lifespan or choose another material.
Concrete Block Walls – Beauty Through Systems
-
Two block types: Dry-stack segmental blocks (no mortar, interlocking) vs. wet-cast Besser blocks (mortar required)
-
Dry-stack advantage: Flexibility – they move slightly without cracking, perfect for reactive clay. Also easier to incorporate geogrid.
-
Finishes that last: Rock-face or split-face textures hide small imperfections better than smooth blocks. Integral colour (mixed into the concrete) outperforms painted surfaces, which flake within 3–7 years on exterior walls.
-
Avoid at all costs: Cheap “retaining wall blocks” from big-box hardware stores. Many aren’t truly engineered for heights above 600mm, despite packaging claims.
Poured Concrete – When Absolute Strength Is Needed
-
Best for: Walls over 2m tall, structural applications (holding up a driveway or building pad), or when a sleek modern aesthetic is required.
-
The durability secret: Steel reinforcement – always. Minimum 12mm rebar at 300mm centres vertically and horizontally. One missing bar can create a crack that runs the full height within a year.
-
Surface treatment: Exposed aggregate or a light sandblast finish provides slip resistance and hides efflorescence (white salt stains). Standard painted concrete looks good for 12 months, then ages poorly.
-
Warning sign of poor work: No control joints. Concrete shrinks as it cures. Without saw-cut or formed control joints every 3–4 metres, random cracking is guaranteed.
Council Approvals and Engineering Certifications – What You Must Know
Many Sydney homeowners build first and ask questions later. That gamble can cost tens of thousands.
| Wall Height | Typical Council Requirement | Penalty for Non-Compliance |
|---|---|---|
| Under 600mm | Usually exempt, but must still meet building codes (e.g., not on boundary, no surcharge load) | Rarely enforced unless the wall fails |
| 600mm – 1m | May require a Complying Development Certificate (CDC) depending on council (e.g., Northern Beaches, Willoughby are stricter) | Retrospective CDC application fees + potential fines (1,500–5,000) |
| Over 1m | Always requires a CDC or Development Application (DA) with engineered drawings signed by a chartered civil or geotechnical engineer | Stop-work orders, court action, forced demolition – we’ve seen it happen |
| Over 1.5m | A geotechnical report is often required (soil testing by a specialist) | Very high risk – demolition and rebuilding with full engineering at your expense |
What legitimate engineering certification includes:
-
Geogrid placement schedules (depths, lengths, and layers)
-
Bearing pressure calculations for the foundation
-
Drainage flow calculations (not just “add a pipe”)
-
Certification of compaction (tests performed during construction)
Our process at Sydney Landscaping Pty Ltd: For any wall over 800mm, we engage a local structural engineer familiar with your council’s requirements. The cost (800–1,500) is a fraction of what a failed, unapproved wall costs to replace.
Maintenance That Actually Matters – Year 1 to Year 30+
A durable retaining wall isn’t “set and forget.” But maintenance is simple if you know what to watch.
Year 1 (critical settling period):
-
Month 1: Check for any settlement of backfill – top up soil or gravel as needed.
-
Month 3: Inspect weepers – a surprising number get clogged during final landscaping. Clear with a thin rod.
-
Month 6: Look for hairline cracks (in concrete) or block movement (in segmental walls). Small shifts are normal in reactive clay. Note and monitor.
-
Month 12: Professional inspection if the wall exceeds 1.5m or has a geogrid.
Years 2–10 (steady state):
-
Annual: Clear vegetation from weepers and the wall face (roots can exert surprising pressure).
-
After heavy rain (especially the March and November storm seasons): Walk the wall. Look for wet spots on the face (indicating drainage issues behind).
-
Every 3 years: Check that downspouts and surface drains still discharge at least 1.5 metres from the wall’s backfill zone.
Year 10+ (proactive renewal):
-
Timber sleeper walls: Begin planning replacement between years 10–15.
-
Concrete / block walls: Repoint any mortar that has crumbled (for Besser block walls).
-
Drainage pipe: Consider hydro-jetting the perforated pipe to clear decades of silt (a specialist service).
When a Retaining Wall Is Not the Only Answer
Sometimes, the “durable retaining wall design” question is the wrong question. For gentle slopes (under 15 degrees) or very low height differences (under 300mm), alternatives can be more cost-effective and more attractive.
Terraced garden beds with timber or steel edging: Holds small soil differences while adding planting space. Not structural – purely aesthetic.
Reinforced soil slopes (vegetated): For slopes up to 45 degrees, geo-grid fabric layered with soil and planted with deep-rooted native groundcovers (e.g., Dichondra repens, Myoporum parvifolium) creates a stable, green slope instead of a hard wall.
Gabion walls (wire baskets filled with rock): Excellent drainage by design. Visually striking for modern or rural properties. Lifespan 30+ years if the galvanised wire is high-quality (double-galvanised or stainless). Downside: can look too industrial for some neighbourhoods.
When we recommend these: For slopes that don’t need a structural wall, for homeowners who prioritise ecology over engineering, or when the budget is very limited (gabion is often cheaper than concrete or block).
The Cost of Getting It Wrong – Three Real Sydney Failures
We’ve been called in to fix walls that failed. The bills were heartbreaking.
Case 1 – Oatlands (clay soil, 1.4m wall): The homeowner used a handyman who skipped geogrid and used builder’s sand as backfill. After two wet winters, the wall leaned 200mm out of plumb and cracked a nearby concrete driveway. Repair cost: 18,000(demolish,newengineereddesign,rebuild).Original“budget” wall: $7,500. Total cost: 25,500insteadof14,000 for a proper wall initially.
Case 2 – Mona Vale (sand over clay, 1.1m wall): DIY owner built a dry-stack block wall without a compacted gravel foundation – just blocks on sand. First heavy rain undermined the toe, and 12 metres of wall collapsed onto a neighbour’s garden. Repair + neighbour compensation + council fine: $32,000.
Case 3 – Baulkham Hills (reactive clay, 900mm wall): Professional but inexperienced builder used a perimeter drain pipe, but no gravel chimney – backfilled with excavated clay. Hydrostatic pressure built up behind the wall, blowing out three weepers and causing significant bulging. Repair: $9,500 (partial rebuild with correct drainage).
The common thread: Every failure could have been avoided by following the five principles earlier in this guide – and by asking the right questions before hiring.
Your Investment, Protected
A durable retaining wall design in Sydney is not a commodity. It is civil engineering applied to your backyard, with your family’s safety and your property’s value on the line.
At Sydney Landscaping Pty Ltd, we don’t build walls we wouldn’t want behind our own homes. Every project – from a 400mm garden edge to a 2m structural wall – receives the same disciplined approach to foundation, drainage, materials, engineering, and installation.
What to bring to your consultation:
-
Photos of your slope (including the area above and below the proposed wall)
-
Any existing cracks in nearby paving, foundations, or fences (these reveal soil movement history)
-
Your council name (we check specific requirements before we arrive)
-
A clear statement of use – is this wall purely functional, or will you terrace, plant, and entertain around it?
Ready to build once and build right? Contact Tom and the team at Sydney Landscaping Pty Ltd. We’ll assess your site, explain your options in plain English, and provide a fixed-price proposal for a wall that genuinely lasts a lifetime.